/Orlo%202.0%20Logo.png?height=120&name=Orlo%202.0%20Logo.png)
Theres lot's of data in an Insights report and lot's of different ways to interact with the widgets. Here's a breakdown of all the options available to make sure you're getting the most out of the reporting...
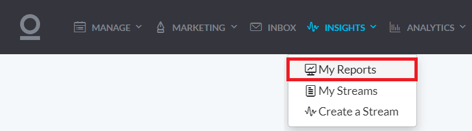
Click Insights along the top navigation bar, then click on the My Reports option to head over to the Reports homepage:
From here, find the report you want to view and click on it to open it. For this article, we'll be running through parts of the template Brand Report (as the functionality is the same across all reports).
By default, each report will load with all data - this means that the report will be showing insights into all of your social accounts' Inbox messages alongside any results pulled in from Listening Streams that have been set up: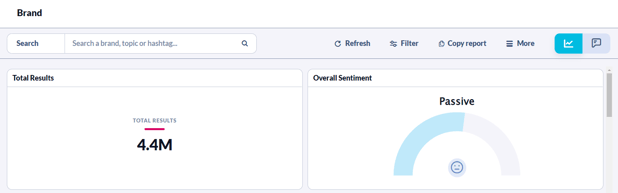
On the right side of the report navigation bar, you can apply filters to the view to adjust the report/results being viewed. Once you've added filters, they'll appear near the top in a breadcrumb menu, where you can quickly click them to toggle them on and off, remove them or clear them all. You can also hide this breadcrumb by clicking on the thumbtack button in the top-right corner:
(At the bottom of this article is a list of our current filters and a brief explanation of their purpose)
Next to the filter option, you can copy the report which will take the current report widgets and copy them into the report edit view for you to save as your own (handy if you're viewing a template report or one your colleague has created and you'd like to make a change to it):

The last option on the navigation bar is the Report/Results toggle - This lets you change your view to see all of the results that sit behind the report in its current state (and change back to the widget view):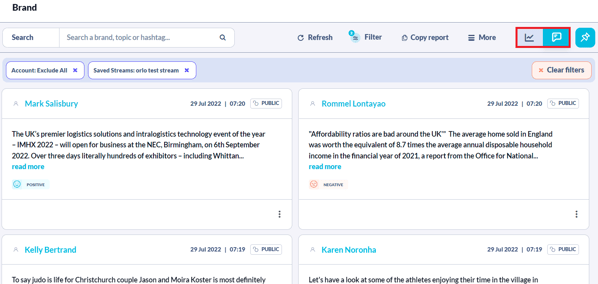
You can click on a part of the report to drill down into the data and see the results behind the visualisation (like clicking into a spike on a graph to see the messages that caused the spike):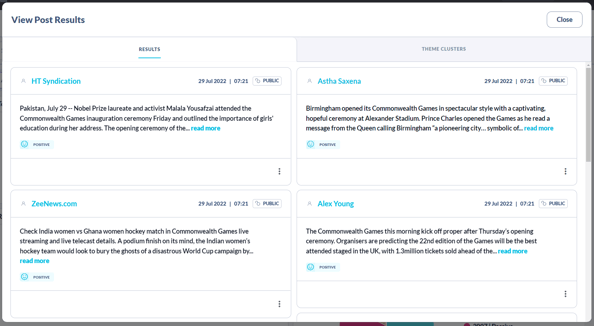
Once you've drilled down, you can interact with the results using the 3-dot button that appears on each. On this menu, you can assign the result to an Orlo user, tag the result, push it to the Inbox (Twitter only) or view the result as it appears natively::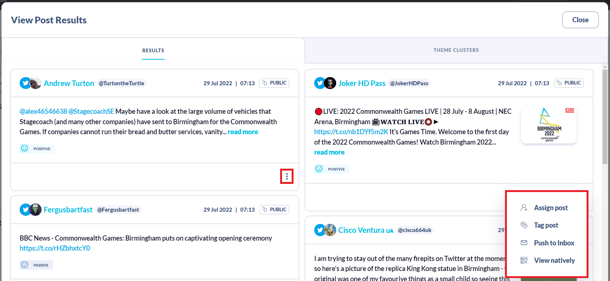
By clicking on the Theme Clusters tab in the drill-down view, Orlo will analyse all of the results and generate a bubble view of the themes we can identify. You can hover over these theme bubbles for a summary of what is contained within and see how many results match this theme. By clicking on a bubble, we'll drill down one more layer and show the results on the right that are part of the theme clicked: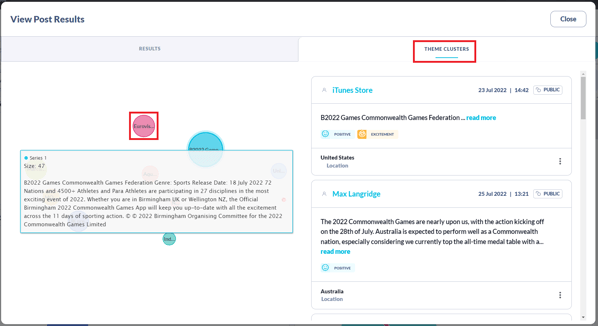
If you drill down into a data set that is specific (for example, a sentiment slice of a pie or a day on a line graph) you will see the same View Post Results window as above, but you will also see the option to Apply Filter. This will take your current selection (Positive Sentiment, Gratitude Emotion, a date in time etc) and filter the rest of the report by that selection: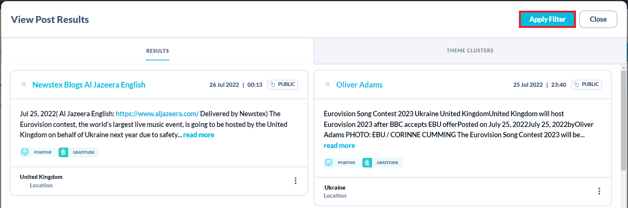
Some visualisations have labels for the data they're presenting. These labels can be clicked on to remove those results from the view. For example, by clicking on the Negative and Semi-Negative labels of the pie chart below, I'll be left with a 3-slice pie made up of Passive, Semi-Positive and Positive results:
Filters Breakdown:
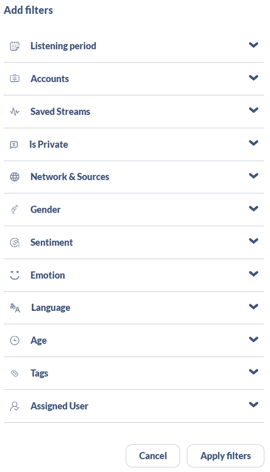
- Listening Period: Change the date range of the report, with quick and custom options
- Accounts: Include specific, or exclude all results from your social account Inboxes
- Saved Streams: Include specific, or exclude all results from your listening streams
- Is Private: Whether or not the results are public or private (Inbox results only)
- Network & Sources: Where the results have come from
- Gender: Gender of the authors of the results
- Sentiment: Detected sentiment of the results
- Emotion: Detected emotions in the results
- Language: The language the results are in
- Age: The age of the authors of the results
- Tags: Only show results that have been tagged with the selected tag/s
- Assigned User: Only show results that have been assigned to the selected Orlo user