/Orlo%202.0%20Logo.png?height=120&name=Orlo%202.0%20Logo.png)
Although we offer four template reports to use out of the box, you can also create a fully customised report built using whichever widgets you'd like. Here's how to do it...
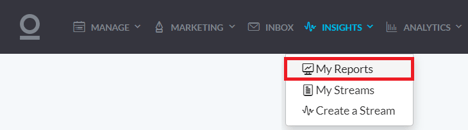
Click Insights along the top navigation bar, then click on the My Reports option to head over to the Reports homepage:
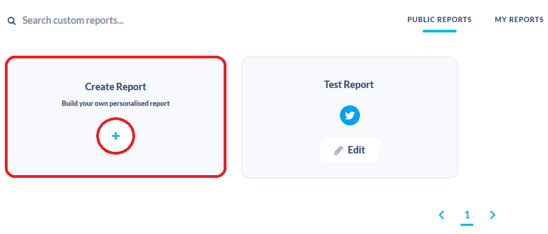
From here, scroll down and click on the Create Report option:
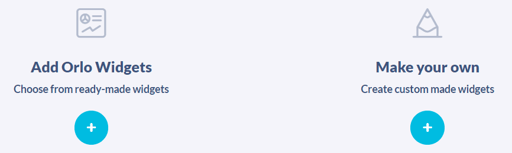
At this stage, you can choose to add widgets from Orlo's pre-made Widget Library or create your own custom widgets. For more information on custom widget building, check out our help article Custom Widget Builder.
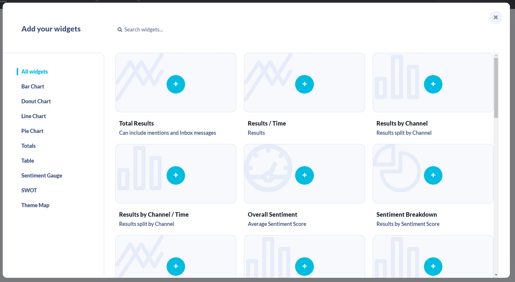
For the Widget Library, you'll be able to see a list of Orlo's widgets that you can click to add to your report in the background. Once you're happy with the widgets added, close the window and you should now see them laid out in their default sizes:
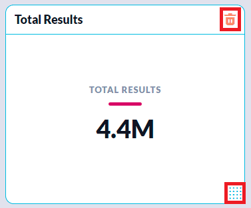
If you hover over a widget, the option to delete it will appear in the top-right corner and the ability to drag to resize is available in the bottom-right corner:
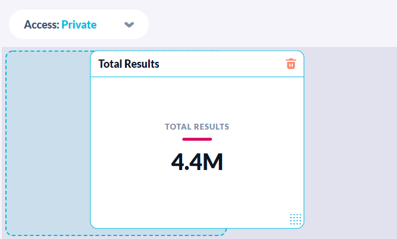
You can also click and drag the entire widget around the report so you can build the report any way you'd like:
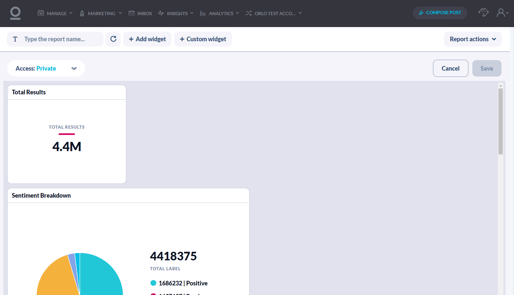
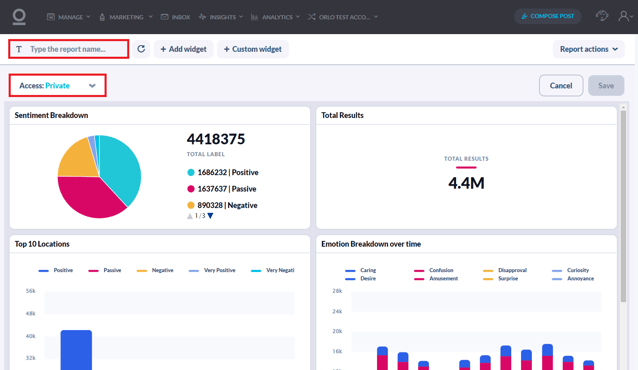
Once you're happy with your widgets and the layout, in the top-left corner of the page you can give the report a title, as well as set its visibility. Public reports can be viewed (but not edited) by anyone with permission to view the Insights module, private reports will only be available to you:
That's it! Click Save in the top-right corner of the page and your report will be ready to go. Depending on what access you set, the report will either appear in the Public Reports or the My Reports section of the Reports homepage: